Category: Direct Admin

Simple steps in enabling SSL feature in Direct Admin

Simple steps in enabling SSL feature in Direct Admin

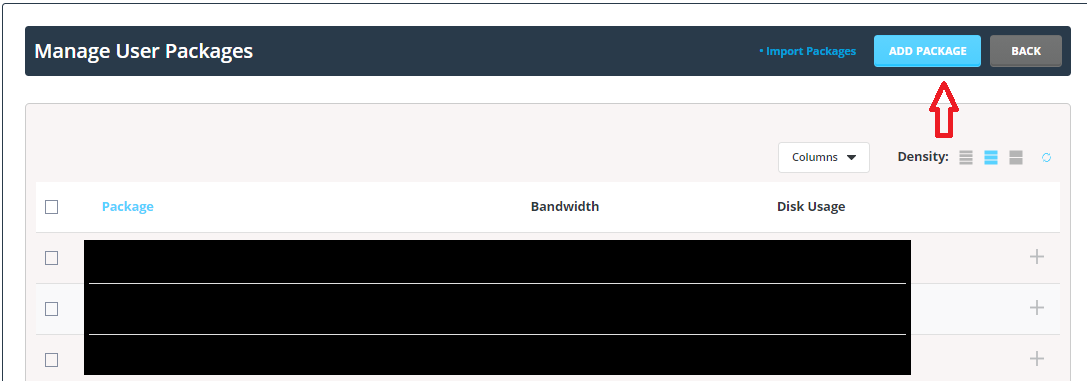
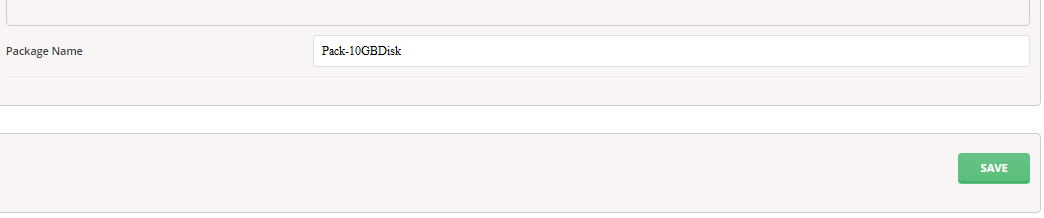
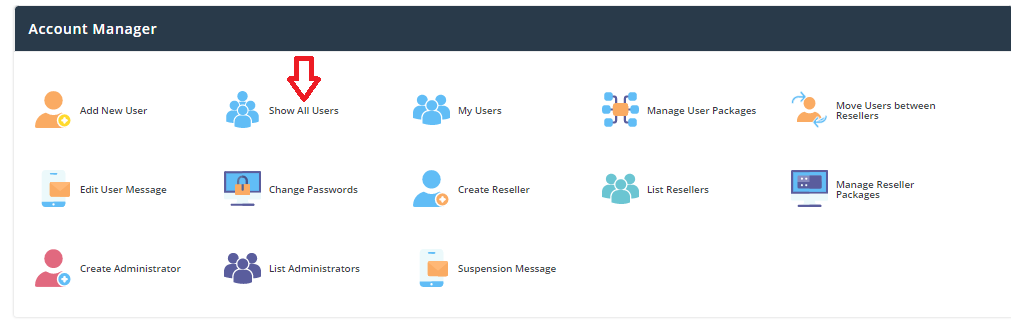
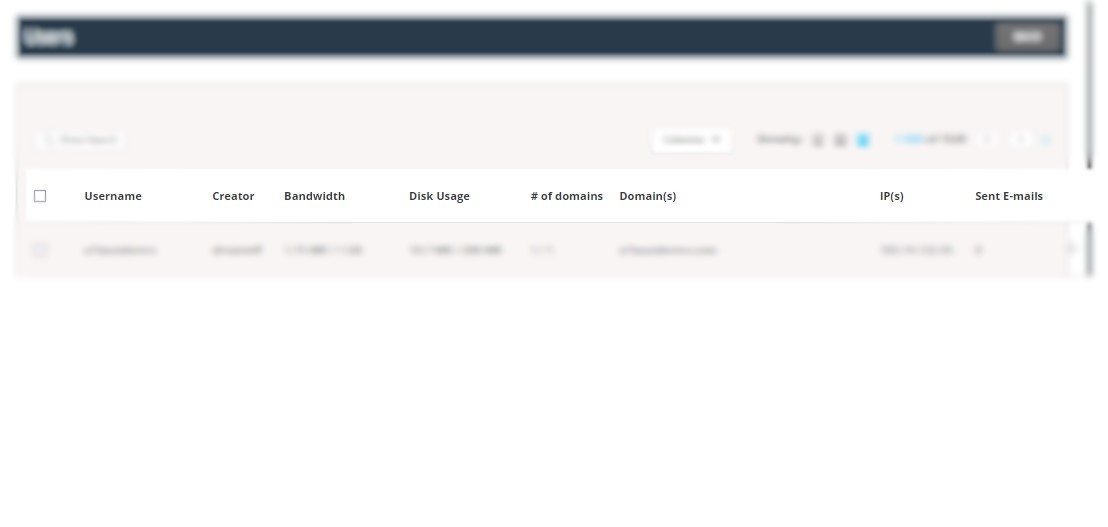
1.Login to your reseller account >> manage user package option >> enable SSL option for each package .To enable SSL option in package Please refer(How to enable /Disable the SSL option for user account in Direct admin) .

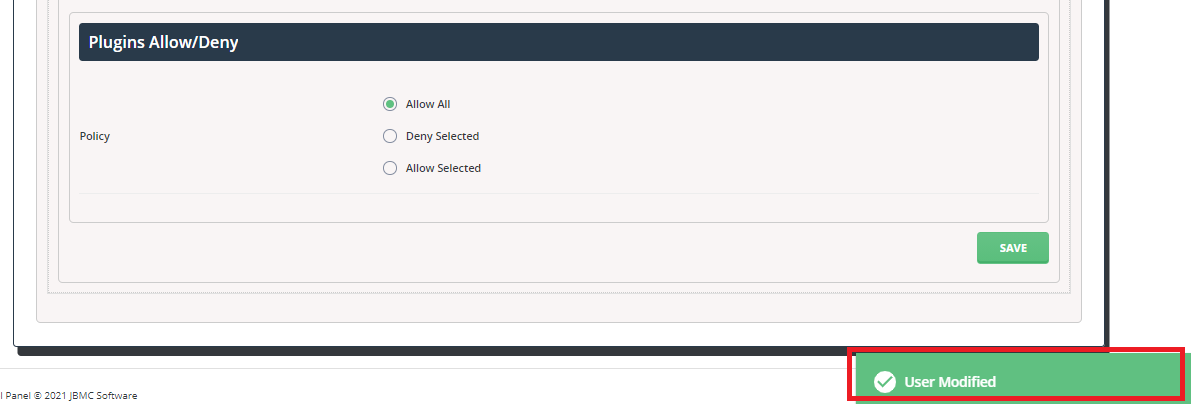
2. And then login to each account control panel individually and follow the below steps to enable free SSL please refer to this URL to know the steps(Easy steps to install Free SSL in Direct admin).

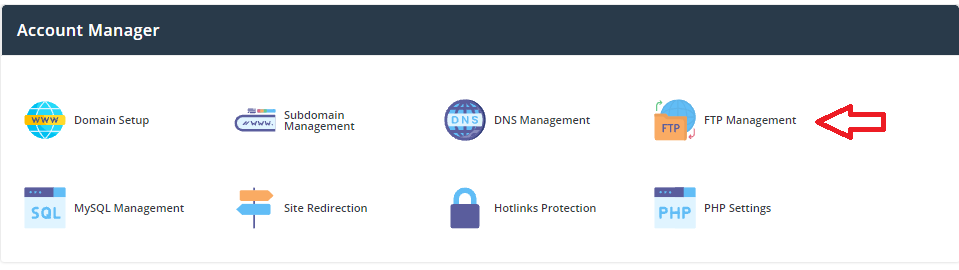
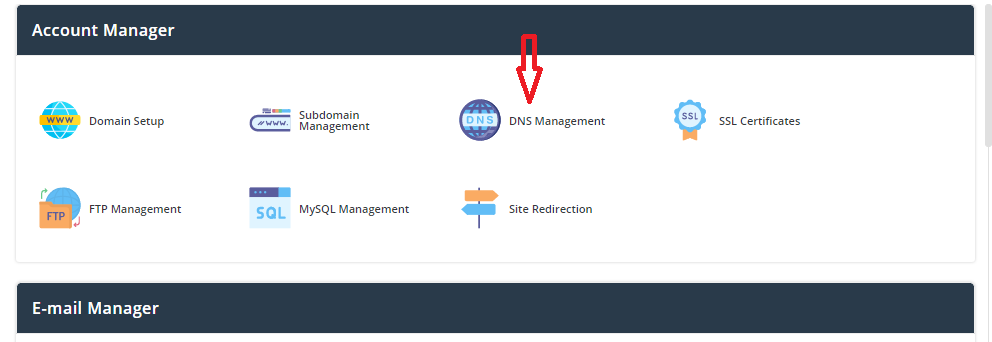
3.Login to DA panel >> Domain setup >> click domain name >> enable Secure SSL option

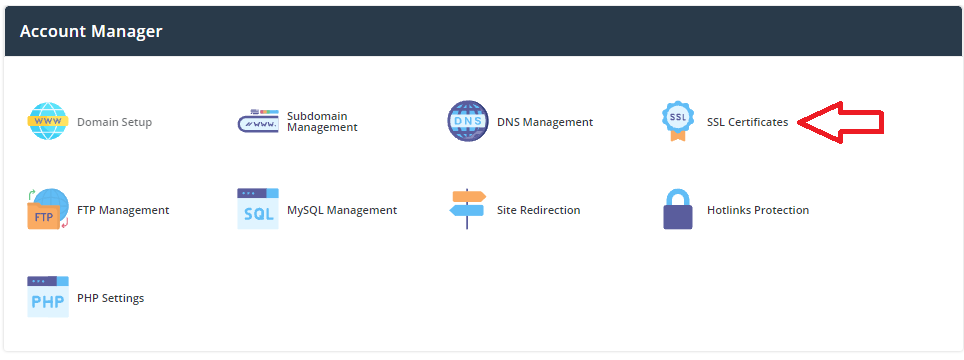
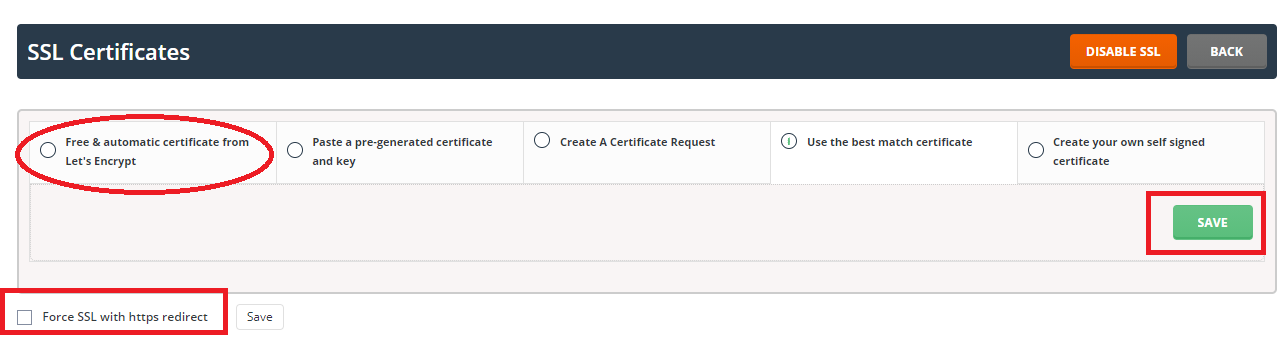
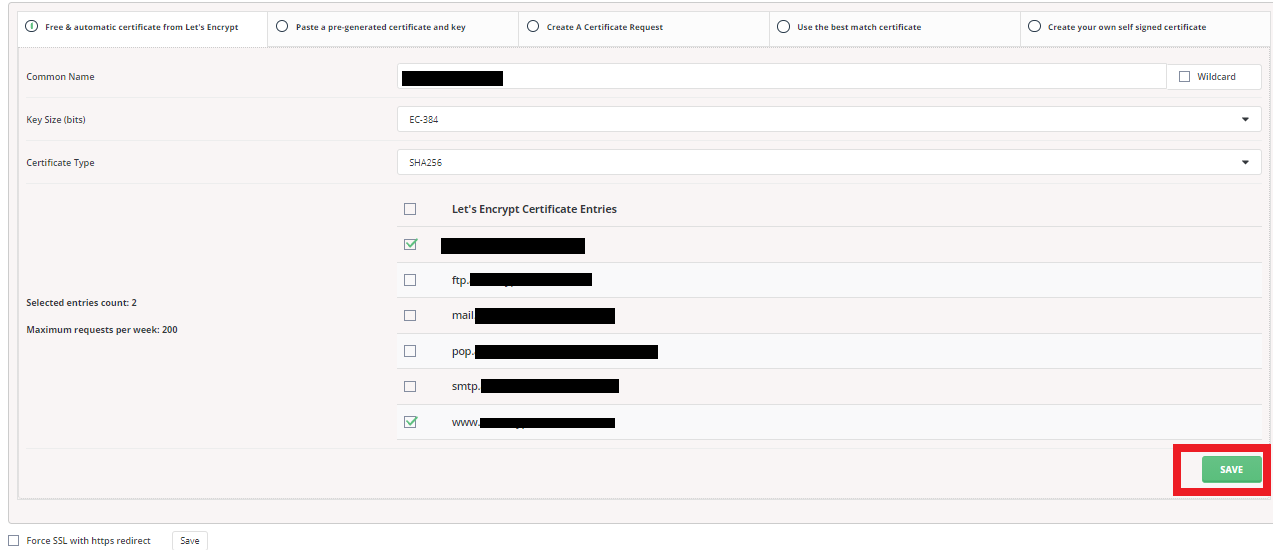
4.Then from DA panel >> SSL certificates option >> click >> Free & automatic certificate from Let’s Encrypt >> choose options under Let’s Encrypt Certificate Entries


Simple steps to increase file upload size in Direct Admin

Let’s learn about Simple steps to increase file upload size in Direct Admin

1. login into your Direct Admin control panel as an admin user.


2. Navigate to Server Manager >> Administrator Settings


3. On the Server Settings tab, look for the Max Request / Upload Size option.


4. Modify the value per your needs Click the SAVE button when done.


Easy steps to install Free SSL in Direct admin

Easy steps to install Free SSL in Direct admin, this is what the blog post will help you to learn.

In Direct Admin the SSL certificates have the option for installing a free SSL (Let’sEncrypt ) which can be installed with simple steps.

And this will be more helpful for beginners who initially start their online business, Instaling Free SSL saves them a few pence.

Easy steps to install Free SSL in Direct admin

1. Login into Direct Admin.

2. Navigate to Account Manager >> SSL Certificates

If you don’t see the SSL certificate option in your Direct Admin read this article and learn How to Enable/Disable the SSL option for a user account in Direct Admin

3. Click on the free start tab with the automatic certificate from Let’s Encrypt.


4. Select the address for which you want SSL certificates. In most cases, you will want to protect domain.com, www.domain.com, and mail.domain.com.

Easy steps to install Free SSL in Direct admin

5. Click the SAVE button. SSLs will be installed and redirected to the page where you will see the details. A confirmation message will be displayed.


Easy steps in Creating a reseller in Direct Admin

In this post, we are going to learn about the easy steps in Creating a reseller in Direct Admin.

Easy steps in Creating a reseller in Direct Admin

1.Log in to the DirectAdmin control panel.

2.From Category Management, click on Create a reseller link.


3.Fill in the required information:


Username
Email address
Password
Retype new password
Domain Name
Select the resell package from the drop-down menu
Assign an IP address to the Account drop-down menu, etc.

4. Click the create button.

5. Now we have learned the easy steps in Creating a reseller in Direct Admin.


Easy steps to create FTP account in Direct Admin

let us see the Easy steps to create an FTP account in Direct Admin.

Although not the most secure, FTP is the most popular and proven way to upload content to a web server. The great advantage of FTP transfer compared to web-based file managers is that FTP connections allow you to load the entire guide tree at once.

1.Sign in to DirectAdmin.


2.Click on the FTP Management link.


3. Click Create New FTP Account.


Provide the following information:
FTP username
User password
type password

Select the directory path for your FTP account. In this case, you can also set your own custom server.

Click the Create button to create an FTP account on your server with the DirectAdmin Hosting Control Panel.


Now we have learned Easy steps to create FTP account in Direct Admin.


Simple Steps to Add DNS records in Direct admin

Simple Steps to Add DNS records in Direct admin

1. Login into Direct Admin.

2. Click the DNS management icon under Account manager.

3. Here click Add record.

Now you will be able to see a popup box with a record type that can be chosen.

Here we have to choose the Record type, name, TTL value, Value.

And then Click Add option.

Now we have successfully learnt the how to Add DNS records in Direct admin.

Easy steps to create email forwarders in Direct admin

Easy steps to create email forwarders in Direct admin

1. Login into Direct Admin.

2. Click the Forwarders icon under Email Manager.

Simple steps to create email forwarders in Direct admin

3. Click >> Create E-mail Forwarder.

Simple steps to create email forwarders in Direct admin

4. Now in the pop-up enter the domain-based email id for which you want to create email forwarding. ( To know how to create a email account in Direct admin please refer Easy steps to create email account in Direct admin)

Simple steps to create email forwarders in Direct admin

And add the Destination email address in the respective field and click create.

Now we have learned about the steps to create email forwarders in Direct admin.


Simple steps to enable DKIM in Direct Admin

Simple steps to enable DKIM in Direct Admin

1. Login into Direct Admin.

Click Email account under Email Manager.

Here Click Enable DKIM on the top right side.

By doing this all the domain-based email accounts will be enabled with DKIM records.and this will make sure the messages are not altered in mail transit between the mail server of sender and receiver.

Easy steps to create email account in Direct admin

Easy steps to create an email account in Direct admin:

1. Login into Direct Admin.


2. Click the Email account icon under Email Manager.

3. Now Click Create Account.

4. Type the user name in which you want to create the email account @yourdomain and set the quota limit.

Then enter the password for the email account and click Create Account.

Now the email id is created and you can access it using the URL yourdomainname.com/webmail/.

We hope now you have learned the simple and Easy steps to create an email account in Direct admin


How to create packages in Direct Admin

In this post, we are going to learn about How to create packages in Direct Admin.

How to create packages in Direct Admin:

Step1: Login into the Direct Admin Control panel as Admin/ Reseller.

Step 2: Click > Manage user packages under the Account Manager section.

Step 3: Click > Add package


and here you can set the disk space, bandwidth, number of an email account and FTP, etc.

Step 4: Before saving the package assign the package with a name to identify the package with the unique package name.

How to create packages in Direct Admin

Step 5: Now click > Save then you will get the success message Saved.

How to create packages in Direct Admin

How to Enable/Disable the SSL option for a user account in Direct Admin

In this post, we are going to learn about how to Enable/Disable the SSL option for a user account in the Direct Admin control panel.

How to Enable/Disable the SSL option for a user account in Direct Admin


Step1: Login into the Direct Admin Control panel as Admin/ Reseller.

Step 2: Click > Show all users/ List users under the Account Manager section.


Step 3:Now here in the list of users page click that user for which you want to Enable/Disable the SSL option.

Step 4: Here Click the modify option


and enable the check box of SSL to enable to SSL option for that user or disable if not required.

 How to Enable/Disable the SSL option for a user account in Direct Admin

Step 5: After that scroll to the bottom of the page and Click > Save option.


Now you will get a success message as user modified.

How to create a user account in Direct Admin control panel

In this post, we are going to learn about how to create a user account in the Direct Admin control panel.

Steps to create a user account in Direct Admin control panel

  1. To create a new user account in the Direct Admin control panel first, we need to login into the Direct Admin control panel as an Admin/Reseller.

  1. Once logged click > Add new user under Account Manager

create a user account in Direct Admin control panel

  1. Now you will be shown with text fields to fill in the below details.

user name :

Email id:

password:

Domain:

User package:

IP:

create a user account in Direct Admin control panel

You need to fill that in and then choose the package from the drop-down list(To know about how to create a user package please refer to this( How to create packages in Direct Admin control ) which you would like to assign for the user account as shown in the screenshot.

  1. Now for example I have created a user account at tnadu.com Once all the details are filled in and the package is chosen click submit button.

  1. Now we have successfully created a user account in the Direct Admin control panel.

4 simple steps to update Gsuite record in Direct Admin

Today we are going to learn about 4 simple steps to update Gsuite record in Direct Admin.

Follow the below 4 simple steps to update Gsuite record in Direct Admin:

Step 1: First Login into the Direct admin control panel.

Click > DNS Manangement  option under Account manager section.

Step2: Now Click > Modify Mx Records


Step 3:

In Direct Admin control panel you will be provided with option to choose most common mail service providers record without manually updating records.


Step 4 : Click Options and click Google Suite Mx records

Now the Google Mx records has been updated using simple method.

Simple 5 steps to remove frequent IP block due to mod-security in Direct admin


Simple 5 steps to remove frequent IP block due to mod-security in Direct admin

Step1: Login into the Direct admin panel user account.

Click > Domain setup

Step 2: Here Click the Domain name and click the Modsecurity option at the right side top .


step3 : Now , Here Click the option Log.


Steps4: In the  log, search with the IP .


Now we can able to find the mod security rule and issue facing URL which triggers the rule.

Step 5:Click Skip rule.