Table of Contents
Restore database backup in cPanel is a straightforward process that involves using the built-in tools to upload and restore your database. Here’s a step-by-step guide on how to restore a database backup in cPanel:
1. Login to cPanel
- Navigate to your hosting account’s cPanel dashboard. Typically, this is done by typing yourdomain.com/cPanel into your browser and entering your cPanel credentials.
2. Access the Backup
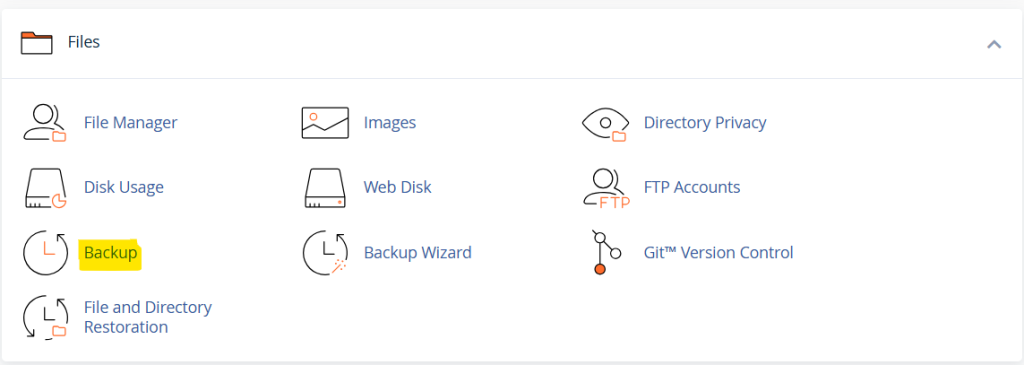
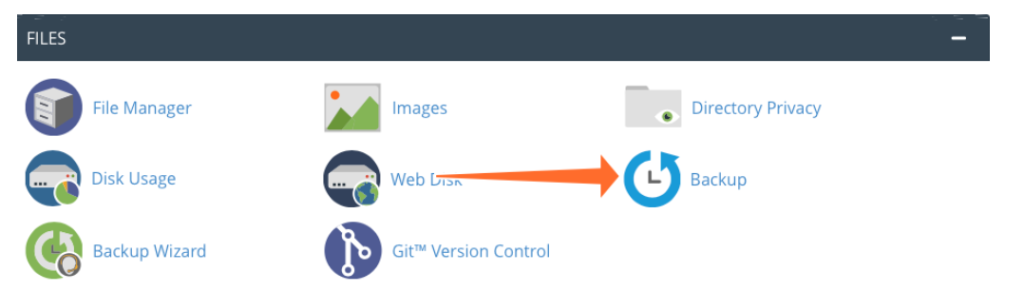
- Once logged in, scroll down to the Files section and click on either:
- Backup: This tool allows you to download and restore backups for databases, files, and more.
- Backup Wizard: This tool provides a more guided, step-by-step process for both backups and restores.
3. Select “Restore Database Backup”
- In the Backup look for an option that says Restore a MySQL Database Backup. This will allow you to upload your database backup file.
4. Choose the Backup File
- Click on the Choose File button or Browse (depending on your version of cPanel) to locate the backup file you want to restore. The backup file will typically have an extension like
.sql,.gz, or.zip(if compressed).
5. Upload the Backup

- After selecting the backup file, click Upload or Restore. This will begin the process of restoring your database from the backup file.
6. Wait for the Restoration Process
- The time it takes to restore your database will depend on the size of the file. Once the restoration is complete, cPanel will notify you that the database has been successfully restored.
7. Verify the Restoration
- After restoring the backup, you should verify that the database has been properly restored. You can do this by:
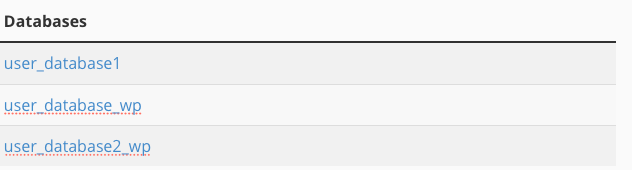
- Logging into phpMyAdmin: Go to the Databases section in cPanel and click on phpMyAdmin. Check if the tables, data, and structure of the restored database are correct.
- Test the Website: If your website relies on this database, check the site to ensure it’s functioning correctly and displaying the restored data.
Additional Notes:
- Database Name Matching: Ensure that the backup file is being restored to the correct database. If the database does not already exist, you may need to create a new database and user under the MySQL Databases section of cPanel, then restore the backup to that database.
- Permissions: Make sure that the database user has the correct privileges to access and modify the database if needed. You can manage user privileges in the MySQL Databases section.
- phpMyAdmin (Alternative Method):
- If you’re having trouble with the Backup or Backup Wizard, you can manually restore the database using phpMyAdmin:
- Go to the Databases section in cPanel and click phpMyAdmin.
- Select the database you want to restore from the list on the left side.
- Click the Import tab at the top of the phpMyAdmin interface.
- Use the Choose File button to select your
.sqlbackup file. - Click Go to begin the import. Wait until it confirms the successful restoration of the database.
- If you’re having trouble with the Backup or Backup Wizard, you can manually restore the database using phpMyAdmin:
How to Restore a MySQL Database in cPanel
Restoring an SQL file overwrites tables and deletes data. If, for example, you published a blog post to your CMS after you last backed up, it will be irreversibly deleted when you restore. Before restoring a backup, make sure it won’t remove data that you want to keep.
In the section titled Restore a MySQL Database Backup, click Choose File and select an SQL file from your local machine. Click Upload, and cPanel will import the file.
Schedule MySQL Backups with Cron in cPanel
We’ve seen how easy it is to back up MySQL databases in your hosting cPanel, but what if you want to automatically back up a database on a schedule? It’s all too easy to forget, and scheduling ensures that the safety of your data don’t depend on your memory.
To automate a MySQL backup, you can use the cron task scheduler and the command-line “mysqldump” tool. Navigate to the cPanel Cron Jobs page, which you’ll find under Advanced on the main page.
Use the drop-down boxes to select a time interval, such as once per week.
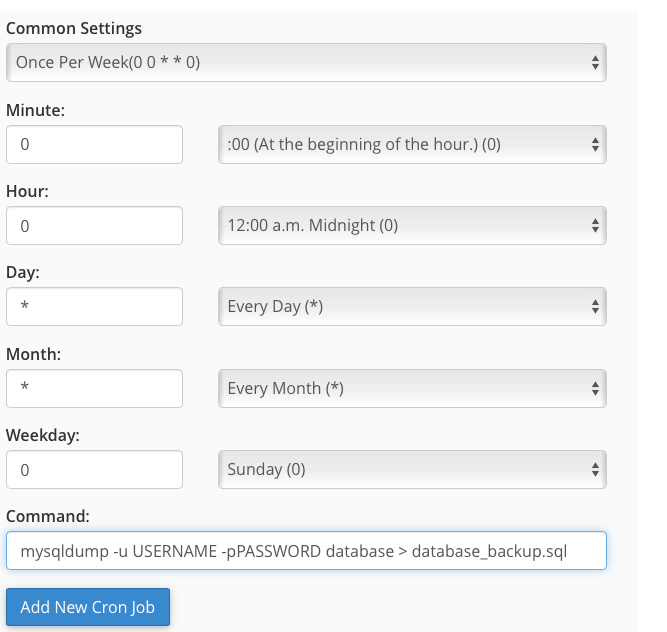
In the command field, enter the following, replacing the uppercase sections with the appropriate details for your database:
mysqldump -u USERNAME -p PASSWORD database > database_backup.sql
Click the Add New Cron Job button, and you’re done. Cron will run the backup at the indicated time interval, saving the SQL file to the location specified at the end of the command (the part after the > symbol).
By following these steps, you can restore database backup in cPanel with ease.