
Table of Contents
Configuring mail forwarding in Plesk is straightforward and allows emails sent to a specific email address to be forwarded to one or more other addresses. Here’s a step-by-step guide:
Step 1: Log into Plesk
- Access your Plesk control panel by logging in with your credentials.
Step 2: Go to the Mail Section
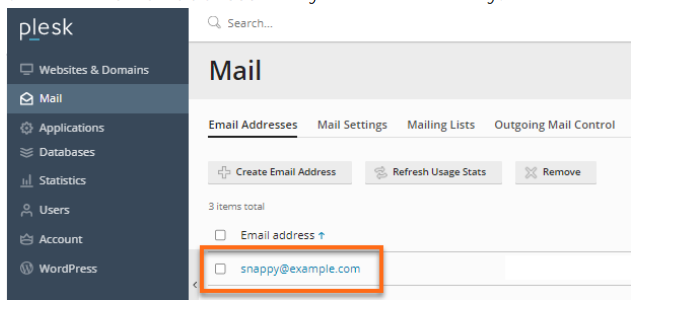
- In the Plesk dashboard, locate and select Mail from the main menu.
- A list of email addresses associated with your domain(s) will appear.

Step 3: Select the Email Account
- Click on the email address for which you want to configure mail forwarding.
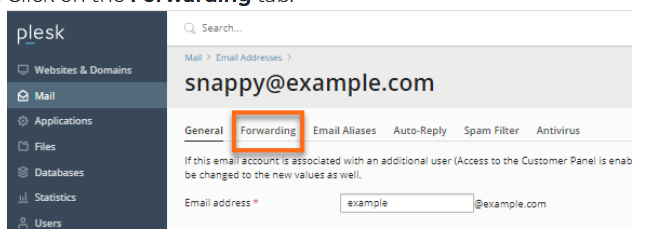
Step 4: Enable and Configure Forwarding
- In the email account settings, go to the Forwarding tab.
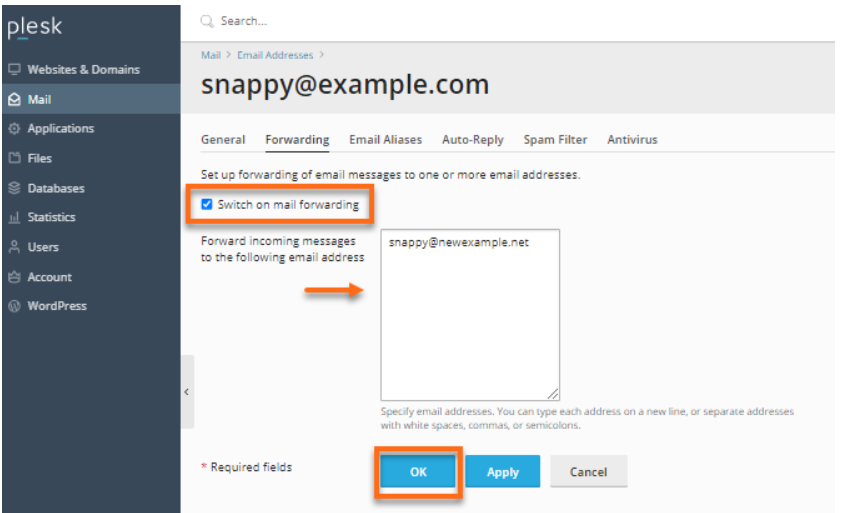
- Check the box labeled Switch on mail forwarding to enable the forwarding feature.
- In the Forwarding Addresses field, enter the email addresses where you want emails to be forwarded. You can add multiple addresses by separating them with commas.
Step 5:In the email’s Forwarding page, do the following
- Click on the Switch on mail forwarding if it is not switched on already.
- Type in the email address you want to forward the emails to.
- Click the OK button
Optional: Keep a Copy of Forwarded Emails
- If you’d like to keep a copy of forwarded emails in the original mailbox, ensure that the Keep a copy of forwarded messages option is selected (if available).
Once configured, emails sent to the selected email address will be automatically forwarded to the specified addresses. This can be especially helpful if you want to manage emails from multiple addresses in a single inbox.