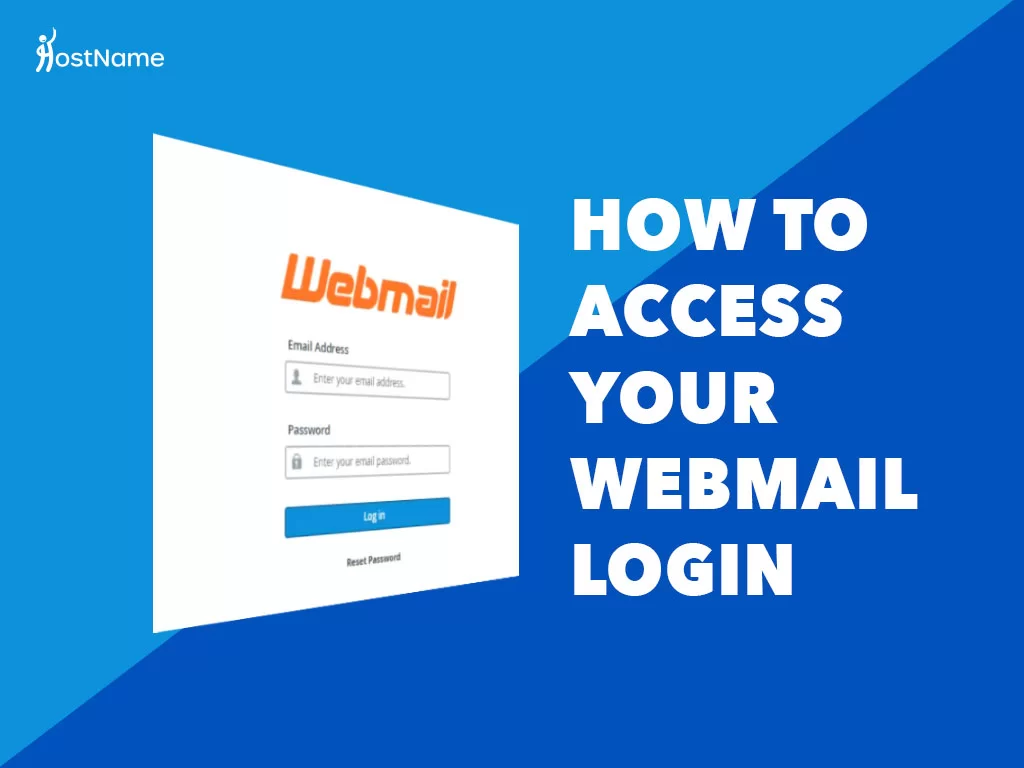
Logging into webmail typically involves accessing a web-based email client provided by your email hosting service or provider. The exact steps may vary depending on the service you use, but the general process is similar. Here’s a generic guide that you can follow:

Table of Contents

Method 1: Direct Access to Webmail
- Open a Web Browser:
- Launch your preferred web browser (e.g., Google Chrome, Mozilla Firefox, Safari).
- Enter the given URL:
- Type the URL provided by your email hosting provider into the address bar. This URL is often in the format of “webmail.yourdomain.com” or “yourprovider.com/webmail.”
- Access the Login Page:
- You should be directed to the login page of the service. This page typically has fields for entering your email address and password.
- Enter Your Email Address:
- In the appropriate field, enter your full email address. This is the email address associated with your hosting account.
- Enter Your Password:
- Enter the password associated with your email account. Make sure to type it correctly, taking into account uppercase and lowercase letters.
- Select a Webmail Client (Optional):
- Some hosting providers offer multiple mail clients (e.g., Roundcube, Horde, SquirrelMail). You may be prompted to choose one of the client if your provider offers this option. Select the preferred client or use the default one.
- Click “Login” or “Sign In”:
- Once you’ve entered your email address and password, click the “Login” or “Sign In” button.
- Access Your Inbox:
- After successfully logging in, you should be redirected to your webmail inbox. Here, you can view, send, and manage your emails.
It’s important to note that the steps might differ slightly depending on your hosting provider. If you’re unsure about the specific steps or encounter any issues, refer to the documentation provided by your hosting provider or contact their support for assistance.
If you’re using a popular email hosting service like Gmail, Microsoft 365, or Yahoo Mail, you can directly visit their respective websites (gmail.com, office.com, yahoomail.com) and log in using your credentials.
Method 2: Through Hosting Control Panel
- Access Hosting Control Panel:
- Log in to your hosting control panel. This is often a separate login from webmail and is provided by your hosting provider. Common control panels include cPanel, Plesk, or another custom control panel.
- Find Email Accounts Section:
- Navigate to the “Email” or “Email Accounts” section within your hosting control panel. This is where you can manage your email accounts.
- Select mail Access:
- Find the email account associated with the webmail you want to access. Look for an option like.
- Enter Email Credentials:
- You may be prompted to enter your email address and password again on the login page. Enter these credentials.
- Choose a Webmail Client (if applicable):
- Similar to the first method, you may need to choose a webmail client if your hosting provider offers multiple options.
- Click “Login” or “Sign In”:
- Click the “Login” or “Sign In” button to access your webmail inbox.
Choose the method that corresponds to the options provided by your hosting provider. If you’re unsure about the specific steps, refer to the documentation provided by your hosting provider or contact their support for assistance.
Method 3: Custom Subdomain (Advanced).
- Login to webmail using one of the options listed above.
- Select a webmail client to access your mail. You can read more about in the next section.
- Copy the complete URL from the address bar.
- Go back to your control panel and click Domains > Subdomains from the main menu.
- Under Create a Subdomain, type a name for your new subdomain, such as “myemail”.
Warning: Do NOT use “mail” as your subdomain since it’s already in use and will result in conflicts. - Select your domain from the drop-down menu, then click Create.
- From the main menu, go to Domains > Redirect.
- Under Add Redirect, select your new subdomain from the drop-down menu.
- Save by clicking the Add This Redirect button.