
Table of Contents
Two Factor Authentication (2FA) adds an extra layer of security to your cPanel account by requiring not only a password but also a second form of verification before granting access. Here’s how to enable 2FA in cPanel:
Log in to cPanel:
- Open your web browser and navigate to your cPanel login URL (usually
https://yourdomain.com/cpanel). - Enter your cPanel username and password to log in.
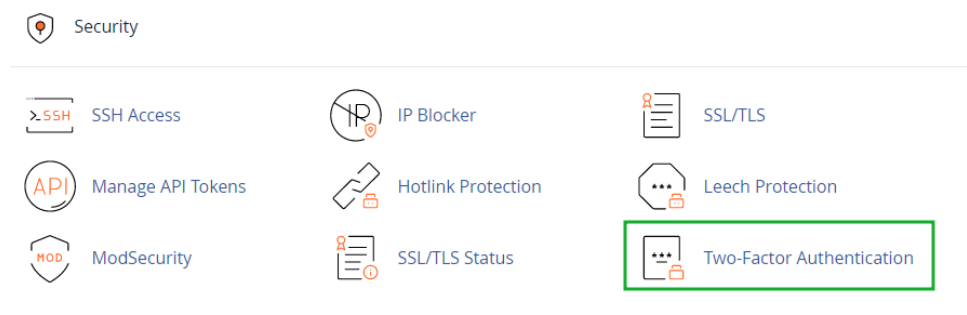
Access Two Factor Authentication Settings:
- Once logged in, look for the “Security” or “Two Factor Authentication” section within cPanel. It may be located under “Preferences” or “Account Settings.”
- Click on the “Two-Factor Authentication” or “2FA” option to access the settings.
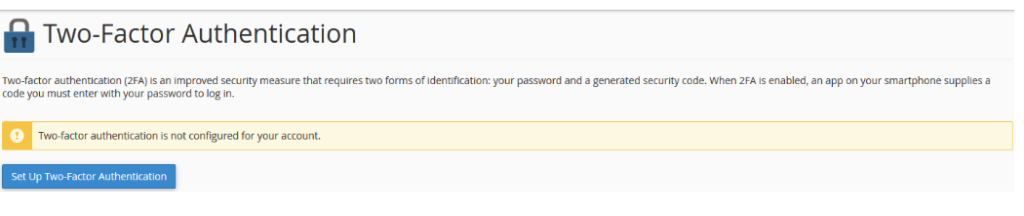
Enable Two-Factor Authentication:
- In the Two Factor Authentication settings, you’ll typically find an option to enable or disable 2FA for your account.
- Click on the “Enable Two-Factor Authentication or similar button to start the setup process.
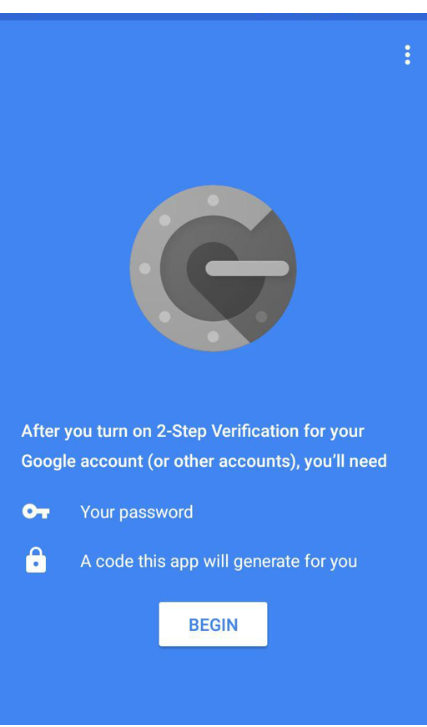
Choose Authentication Method:
- cPanel supports multiple authentication methods for 2FA, including Time-Based One-Time Password (TOTP) apps like Google Authenticator or Authy, as well as email-based authentication.
- Select your preferred authentication method from the available options.
Scan QR Code or Enter Secret Key:
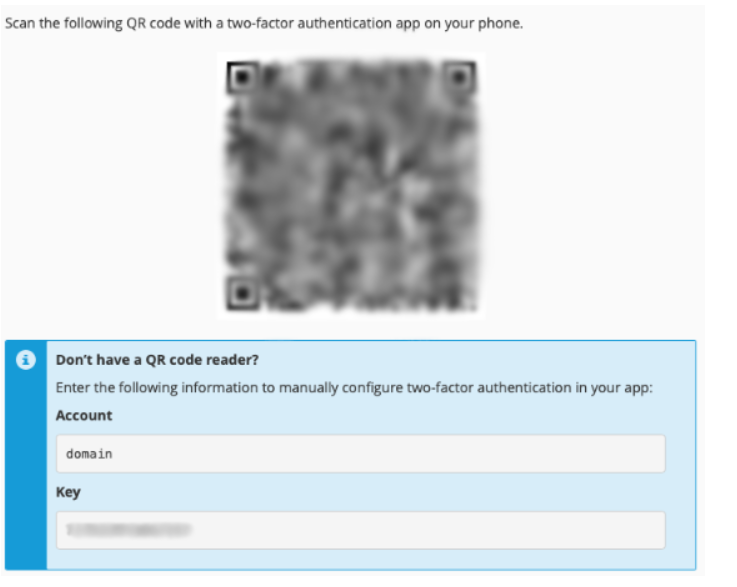
- If you’re using a TOTP app (e.g., Google Authenticator), you’ll need to scan the QR code displayed on the screen or manually enter the secret key into the app.
- If you’re using email-based authentication, cPanel will send a verification code to your email address.
Verify Authentication:
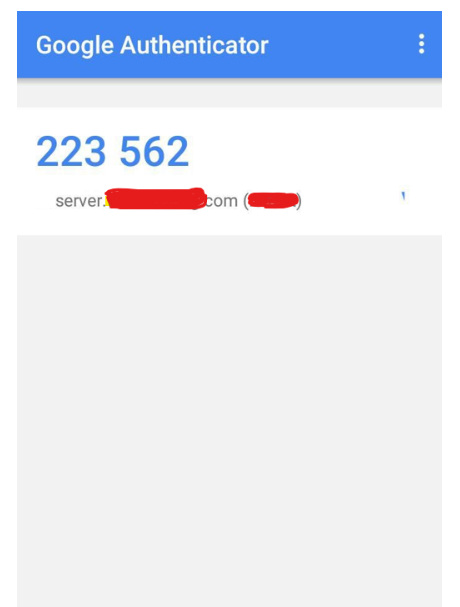
- Once you’ve scanned the QR code or entered the secret key, the authentication app will generate a verification code.
- Enter the verification code into the appropriate field in cPanel to confirm setup.
Save Settings and Test 2FA:
- After verifying authentication, make sure to save your settings.
- Test the 2FA setup by logging out of cPanel and logging back in. You should be prompted to enter a verification code from your authentication app or email.
- In case the Scan a barcode option is chosen, the camera app will open and you will need to place the QR code from the cPanel within the red lines displayed.
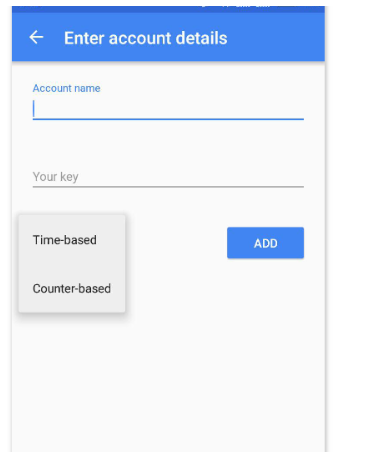
- It is also possible to use the Enter a provided key option. You will be prompted to the next page where you will need to enter the following details previously specified in the cPanel:
- Account name
- Your key
- The key can be either time-based or counter-based. With the time-based option, the 2FA app generates a new six-digit security code for your cPanel account every 30 seconds. With the counter-based key, you tap a button, which then asks for the next number.
Backup Recovery Codes (Optional):
- cPanel may provide backup recovery codes that you can use to regain access to your account if you lose access to your authentication device.
- It’s recommended to save these recovery codes in a secure location.
By enabling Two-Factor Authentication in cPanel, you add an additional layer of security to your account, helping to prevent unauthorized access and protect sensitive data. It’s an essential security measure for enhancing the overall security posture of your cPanel hosting environment.
Remove 2F Aauthentication (2FA) via command line:
. Run the below command as root user to disable 2FA via terminal: whmapi1 twofactorauth_disable_policy .
If it helps, access the server remotely as root user and follow the below steps:
cd /var/cpanel/authn/twofactor_auth
and rename the .json files to something else or simply run the below command :
mv -v /var/cpanel/authn/twofactor_auth/tfa_userdata.json{,.bak}; echo ‘{}’ >> /var/cpanel/authn/twofactor_auth/tfa_userdata.jsoPosted in cPanel, 2FA, Two-Factor Authentication